Whether you’ve just purchased a new ATV or want to learn how to maintain the one you currently have, you’ll have to grasp how to wash an ATV air filter.
The air filter in your vehicle is essential to preserving engine performance. It enables the fuel and clean air to combine, burn, and generate the power needed to move the car. This airflow may become hampered over time by the buildup of debris such as dirt, grime, pebbles, and more.
A dust-free air filter is a requirement for a machine to operate efficiently. In this blog post, you’ll learn everything you have to know about the steps of cleaning your ATV’s Air Filter.
How do You Clean an ATV Air Filter: 6 Simple Steps
It’s pretty simple to clean the air filter. Follow these six steps if you want to know how to maintain your bike and clean the air filter the first time or if you’re looking for a more straightforward approach than what you’ve been doing.
1. Find the Air Filter
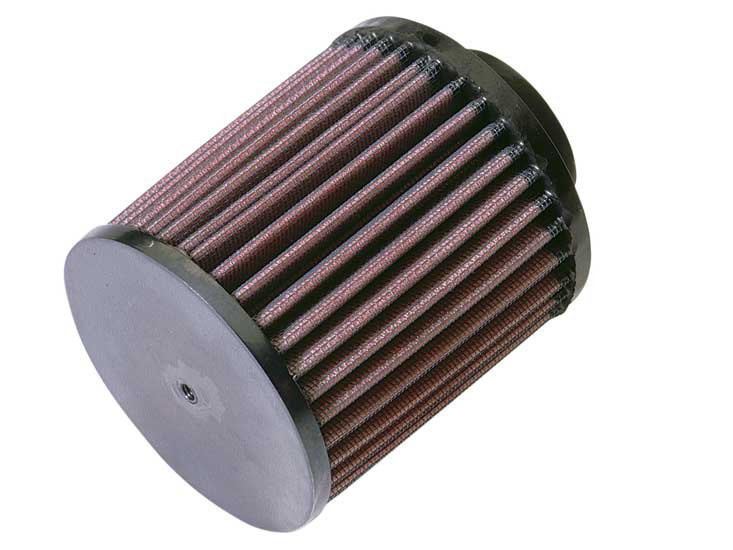
First and foremost, do you know exactly where it is? The air filters are located directly beneath the seat of the bike, and you should check for the type of filter your ATV does have. Foam-type filters are commonplace on ATVs.
Remove the air filter cautiously to prevent dirt or debris from entering the intake or airbox. Remove the wing nut holding the filter together and any housing that may be present on the filter before removing the outer element.
Examine the filter for significant cuts and other flaws that could allow debris to pass through the material. You must buy a brand-new foam air filter if you discover any considerable harm to the air filter.
2. Gently Wash the Dirt Away
You might wonder, “Can I wash an ATV air filter now that I’ve taken the air filter apart?” Please allow me to assist you.
Finding a big bucket to wash the filter in is the first thing you’ll need to do. Place anything you don’t want to risk damaging while washing the air filter in a safe place. You will also require a tray, oil treatment, gloves, and a cleaning agent like Maxima Air Filter Cleaner.
Next, add a moderate quantity of cleaning solution to a clean bucket and tenderly saturate the filter. Make sure it is the appropriate one for the type of filter you have, or you risk damaging it. To minimize unnecessary exposure to carcinogens and other toxins, wear gloves.
Avoid twisting or pinching the foam filter because you risk damaging it. This ought to start dissolving the filter’s oil and debris. Look for seam separations or material tears as you press the filter and flip it in the cleaning solution.
3. Rinsing the Air Filter
After cleaning the filter, rinse it thoroughly with clean water, starting from the inner surface and working your way outward to avoid pushing dirt deeper into the filter’s fibers.
The filter should not be stretched or wrung out, as this could cause a tear. Rinse until the water becomes clear. If necessary, repeat the procedure.
Please refrain from using gasoline or other ignitable substances to rinse a foam filter because doing so will cause the glue holding the filter to break down.
4. Let the Filter Dry Up
After thoroughly rinsing the air filter, roll it to remove any remaining water before setting it aside to dry completely. Before reinstalling the air filter, allow it to dry throughout the night.
Never use a hair dryer, heat gun, or laundry dryer. This means you cannot ride your costly bike for a few hours after cleaning the filter.
Do not rush the process; wait until the filter is dry before applying the oil.
5. Oil the Filter
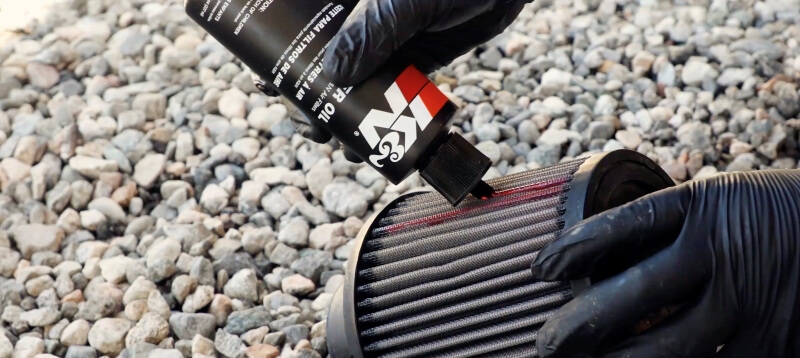
When doing this, make sure that you equally oil all layers and all of the filter’s surfaces. You can either apply the oil to the filter while wearing gloves or put the filter together with the oil in an elastic bag and roll or massage the filter until it is completely submerged in the oil.
When distributing the oil throughout the entire filter, take your time. If you notice significant oil buildups, remove them and allow the filter to air dry for half an hour or until dry.
You can buy a pre-oiled foam filter to skip this step if you find this process too tedious.
6. Use Waterproof Products
Finding a waterproof product to complete the process is the last step in washing an air filter on an ATV.
These products typically work by providing protection that resembles grease. By sealing the filter’s edge, merchandise like this one will help you avoid the unnecessary entry of additional contaminants into the filter.
Final Word
It should have gone without a hitch if you followed all these steps to clean your ATV’s air filter. You’ll discover that with the right equipment and supplies, there is no excuse not to complete this task in the convenience of your own home.