ATVs maneuver through dirt roads, but that doesn’t mean they can’t look neat. You can transform the look of the ATV, and that starts by learning how to paint ATV plastics.
The best part? You can make your four-wheeler look as good as new without breaking the bank. It’s all about painting the plastic parts.
Keep reading to learn how to paint your all-terrain vehicle’s plastic section.
Overview of Tools You will Require
- The paint
- Plastic cleaner
- Sandpaper
- Adhesive
- A scuff pad
- A primer
- A bumper sealer
- Finishing glaze
13 Tips on How to Paint ATV Plastics

#1. Clean Your ATV Plastic
Before doing anything, you will need to clean your ATV plastic efficiently. You can use a mushy cloth and water or warm water that is soapy.
Through cleaning, you will be able to do away with all the dirt and dust that could alter the painting coat.
If you assume this step, your painting will not be pleasing after finishing since there will be dirt specks underneath your painting work.
Ensure that you start with this step to avoid having unattractive paintings.
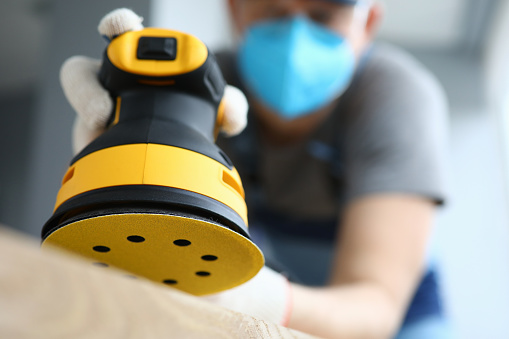
#2. Sand Down Your ATV Plastic

Get 200 or 180-grit sandpaper and use it to sand down your plastic. Remember that when you constantly expose your plastic to natural elements, it will form a thin coating layer.
So, it is crucial to sand the plastic keenly without pressing so hard, or else you will form wells in your plastics. You are required to be firm yet gentle when sanding the plastic.
#3. Do Away with Water-Soluble Particles
When done with the sanding process, your next procedure is to do away with the water-soluble particles from the surface of your plastic.
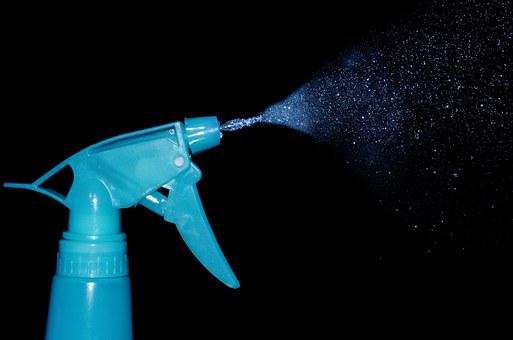
To do away with the particles, use a scuff pad or any other solution. However, use degreaser and surface cleaner products to wipe the plastic clean.
Spray the scuff pad on your plastic and let it settle for some time. You will be surprised how it will do away with your plastic’s contaminants and sandpaper dust.
#4. Redo the Sanding Procedure
Consider sanding your ATV plastic again. You can get rid of this procedure since it’s optional. Although, it does not harm sanding the plastic once again.
This process will help eliminate the missed coating during your first sanding step. Besides, it’s better to take precautions than regret them later.
#5. Sandblast Your ATV Plastic
When painting plastics, sandblasting is a crucial step that you should not miss. Make sure that you cover your entire plastic painting surface.
In the sandblaster, use 180-grit of aluminum oxide. If you don’t have the sandblaster or don’t need to sandblast, sand your plastic using 400-grit sandpaper.
A sandblaster is a perfect option, although you can do great with the available option if you don’t have one.
#6. Redo the Cleaning Procedure
In the last cleaning procedure, use the plastic cleaner to finish it. Research the best plastic cleaner brands and apply one of them.
Luckily, many plastic cleaners are accessible in spray form. Spray a large coat on the surface of your plastic and let it settle for some time to ensure that solvents have dissolved the particles.
After approximately 20 minutes, you can use a clean paper-like towel to wipe off.
#7. Apply an Adhesives
The adhesive process will aid in making the painting stick for longer. Also, it will control the later chipping and cracking, thus no more repainting.
Feel free to apply any industrial adhesive levels, although you must use double coats. Before applying the 2nd layer, make sure that your 1st layer has dried.
#8. Apply the Primer
Layer the surface and texture it appropriately before applying the paint to your ATV plastic. To achieve that, use a primer since it will get it done in less time.
Ensure that the adhesive has dried properly before applying the primer. To completely cover the surface, use the aquatic surface primer.
The primer perfectly fills the imperfections such as scratches and, at the same time, gives your ATV a new look.
#9. Once Again, Sand Your Surface
For a perfect ending, you require to put more effort. Sand the whole surface of the ATV plastic using 320-grit sandpaper until it’s smooth.
The 320-grit sandpaper will help you achieve all that you desire. Please sand your surface when the primer has completely dried.
#10. Use the Finishing Glaze
Finishing glaze is the point you require to cover each imperfection from cleaning or the previous covering.
Look for the perfect finishing glaze to completely cover the spots. Make sure that you use a finishing glaze with low viscosity.
#11. Do the Final Sanding
When the finishing glaze dries, smoothen the surface out using sandpaper. After painting, you will notice the smallest undulations.
This process will help you solve the problem. The smooth surface assures you of a long-lasting and beautiful-looking painting.
#12. Use a Bumper Sealer
Bumper sealer is the last process before you start painting your ATV. Apply the bumper sealer that is aquatic to the plastic that you want to paint
When a bumper sealer dries, start the painting process.
#13. Paint Your ATV Plastic
Finally, after following the above processes keenly, it’s time to paint your ATV plastic. To prevent the paint from running down, spray lightly. Begin spraying from the base to avoid giving the top a grainy appearance.
Apply your 1st layer on the plastic surface, wait for it to completely dry, and then apply the 2nd layer. After the 2nd layer is dry, you can apply the flex additive for the best adhesive between your plastic and paint.
Final Thoughts
Nothing will bring you down now since you have the option of repainting. Give your ATV a new look using the best paint and plastic.
Although the procedure consumes a lot of time, you will always love the results since it is worth it.
All in all, we all love attractive looks; you are not alone. With the above tips on how to paint ATV plastics, you can make a wise decision with ease. Good luck!