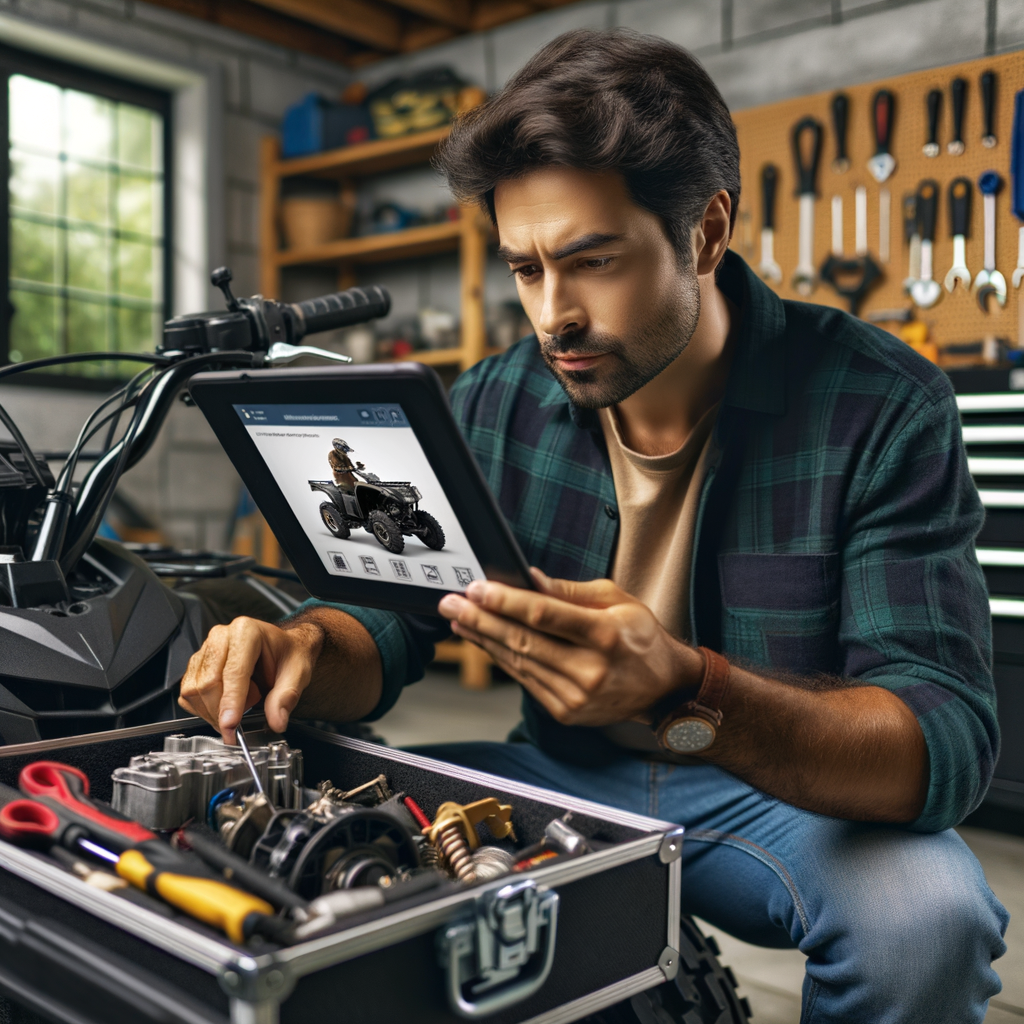
Introduction to ATV Maintenance for Beginners
ATV maintenance might seem like a daunting task, especially if you’re a beginner. However, with the right knowledge and tools, you can keep your ATV in top shape. This introductory guide will help you understand the importance of regular ATV maintenance and introduce you to the basic tools required for the task.
- Understanding the Importance of Regular ATV Maintenance
Regular maintenance of your ATV is crucial for several reasons. Firstly, it ensures the longevity of your vehicle. Just like any other machine, ATVs need regular care to function optimally. Neglecting maintenance can lead to premature wear and tear, reducing the lifespan of your ATV.
Secondly, regular maintenance enhances safety. ATVs are often used for off-road adventures, which can be risky if your vehicle is not in good condition. Regular inspections and maintenance can help identify potential issues before they become major problems, ensuring your safety while riding.
Lastly, regular maintenance can save you money in the long run. While it might seem like an additional expense, catching small issues early can prevent costly repairs down the line.
- Basic Tools Required for ATV Maintenance
Now that you understand the importance of regular ATV maintenance, let’s discuss the basic tools you’ll need. Here’s a list of essential tools for ATV maintenance:
- Socket Set: A good socket set is a must-have for any ATV owner. It’s used for a variety of tasks, such as removing and tightening bolts.
- Screwdrivers: You’ll need both flat-head and Phillips screwdrivers for various tasks.
- Pliers: Pliers are handy for gripping small parts or bending metal.
- Wrench Set: Wrenches are used for turning bolts and nuts that a socket cannot reach.
- Tire Pressure Gauge: Maintaining correct tire pressure is crucial for safe and efficient riding. A tire pressure gauge will help you ensure your tires are properly inflated.
These are just the basic tools. As you gain more experience with ATV maintenance, you might find other tools that make the job easier. Remember, investing in good quality tools can make your maintenance tasks easier and more efficient.
Basic ATV Inspections: A Comprehensive Guide
Before you hit the trails on your ATV, it’s crucial to perform a pre-ride inspection. This process ensures your vehicle is in top shape and helps prevent potential accidents or breakdowns. Here’s a step-by-step guide to help you with this important task.
Pre-Ride Inspections
Pre-ride inspections involve checking the following:
- Checking the tire pressure and condition
- Inspecting the brakes and throttle
- Checking the oil and fuel levels
Start by checking the tire pressure. The correct pressure for your ATV’s tires can usually be found in the owner’s manual. Use a tire pressure gauge to ensure the pressure is within the recommended range. Also, inspect the tires for any visible damage such as cuts, punctures, or excessive wear. If you notice any issues, it’s best to replace the tires before riding.
Next, check the brakes and throttle. The brakes should respond quickly and smoothly when applied. If they feel spongy or slow to respond, they may need to be adjusted or replaced. The throttle should also move smoothly and snap back to the idle position when released. If it sticks or is slow to return, it may need to be cleaned or lubricated.
Lastly, check the oil and fuel levels. The oil should be clean and at the correct level. If it’s dirty or low, it’s time for an oil change. The fuel level should also be sufficient for your planned ride. If it’s low, refill it with the correct type of fuel for your ATV.
By following these steps, you can ensure your ATV is ready for a safe and enjoyable ride. Remember, regular inspections are key to maintaining your ATV’s performance and longevity.
Post-Ride Inspections
After enjoying a thrilling ride on your ATV, it’s important to perform a post-ride inspection. This helps to keep your vehicle in top shape and ready for the next adventure. Here are the key steps you should follow:
- Cleaning the ATV
- Checking for any visible damage
- Storing the ATV properly
First, clean your ATV thoroughly. Dirt and mud can hide potential damage and cause wear and tear over time. Use a soft brush and soapy water to clean the body and undercarriage. Don’t forget to clean the tires and rims as well. Once you’re done, dry the ATV with a clean cloth to prevent rusting.
Next, inspect your ATV for any visible damage. Look for cracks, dents, or scratches on the body. Check the tires for punctures or excessive wear. Pay special attention to the brake lines, suspension, and exhaust system. If you notice any damage, it’s best to get it repaired immediately to prevent further issues.
Finally, store your ATV properly. It should be kept in a cool, dry place away from direct sunlight. If possible, cover it with a protective cover to keep dust and debris out. Also, make sure to disconnect the battery if you’re not planning to use the ATV for a long period.
Remember, regular post-ride inspections can greatly extend the life of your ATV and ensure a safe and enjoyable riding experience. So, make it a habit to perform these checks after every ride.
| Post-Ride Inspection Steps | Description |
|---|---|
| Cleaning the ATV | Use a soft brush and soapy water to clean the ATV. Dry it with a clean cloth to prevent rusting. |
| Checking for visible damage | Inspect the ATV for any visible damage such as cracks, dents, or scratches. Check the tires, brake lines, suspension, and exhaust system. |
| Storing the ATV properly | Store the ATV in a cool, dry place away from direct sunlight. Use a protective cover and disconnect the battery if not in use for a long period. |
Beginner’s Guide to ATV Maintenance: Routine Tasks
One of the most crucial aspects of ATV maintenance is routine tasks. These tasks help ensure your ATV runs smoothly and efficiently. This section will focus on oil and filter changes, which are essential for the longevity and performance of your ATV.
Oil and Filter Changes
Oil and filter changes are two of the most important routine tasks for ATV maintenance. Regular oil changes keep your ATV’s engine running smoothly, while filter changes prevent impurities from damaging your engine. Here’s how to perform these tasks:
- How to perform an oil change
- When and why to change the filter
Changing the oil in your ATV is a straightforward process. First, you’ll need to warm up your ATV’s engine for a few minutes. This makes the oil thinner and easier to drain. Next, locate the drain plug underneath your ATV and place a drain pan underneath it. Remove the drain plug and allow the oil to drain. Once the oil has drained, replace the drain plug and fill your ATV with new oil. Be sure to check your ATV’s manual for the correct type and amount of oil to use.
The filter in your ATV should be changed every time you change the oil. This is because the filter traps impurities that can damage your engine. Over time, the filter can become clogged with these impurities, reducing its effectiveness. By changing the filter each time you change the oil, you ensure your engine is protected from damage.
By performing these routine tasks, you can help ensure your ATV runs smoothly and efficiently. Remember, regular maintenance is the key to prolonging the life of your ATV and maximizing its performance.
Brake Maintenance
Brake maintenance is an essential part of ATV upkeep. It’s important to regularly check and replace brake pads, and bleed the brake lines. Let’s dive into these tasks in more detail.
- Checking and Replacing Brake Pads
- Bleeding the Brake Lines
Brake pads are a crucial part of your ATV’s braking system. They help slow down your vehicle by creating friction against the brake rotors. Over time, these pads can wear down and need to be replaced.
To check your brake pads, look at the thickness. If it’s less than 1/4 inch, it’s time for a replacement. Replacing brake pads involves removing the old ones and installing new ones. It’s a task you can do yourself with the right tools and instructions, but if you’re not comfortable, it’s best to let a professional handle it.
Over time, air can get into your ATV’s brake lines, which can make your brakes feel spongy or less effective. Bleeding the brake lines is the process of removing this air.
To bleed the brake lines, you’ll need a brake bleeding kit. You’ll attach this to the brake bleeder valve, pump the brakes, and open the valve to let out the air. Again, if this sounds too complicated, it’s best to let a professional do it.
Remember, brake maintenance is not just about safety. It’s also about extending the life of your ATV and ensuring it performs at its best. So, don’t neglect these tasks!
| Task | Description | When to Perform |
|---|---|---|
| Checking and replacing brake pads | Inspect the thickness of the brake pads and replace if less than 1/4 inch. | Every 1000 miles or if braking performance decreases. |
| Bleeding the brake lines | Remove air from the brake lines using a brake bleeding kit. | Every two years or if brakes feel spongy. |
How to Perform ATV Inspections: Detailed Steps
Performing regular inspections on your ATV (All-Terrain Vehicle) is crucial to ensure its longevity and your safety. In this section, we will provide a comprehensive, step-by-step guide to performing an ATV inspection. We will also highlight common issues you should look out for during these inspections.
- Step-by-step guide to a comprehensive ATV inspection
- Check the Tires: Inspect the tires for any signs of wear and tear. Ensure they are properly inflated and the treads are not worn out.
- Examine the Brakes: Test the brakes to ensure they are working correctly. Look for any signs of damage or wear on the brake pads.
- Inspect the Lights: Make sure all lights are functioning properly. This includes headlights, tail lights, and brake lights.
- Check the Oil: The oil should be at the correct level and not too dirty. If it’s low or dirty, it’s time for an oil change.
- Examine the Battery: Check the battery for any signs of corrosion. It should be fully charged and securely fastened.
- Inspect the Body: Look for any signs of damage or rust on the body of the ATV. Any damage should be repaired promptly to prevent further issues.
- Common issues to look out for during inspections
- Worn Tires: Worn out tires can lead to poor traction and increased risk of accidents.
- Brake Issues: Damaged or worn-out brake pads can lead to decreased braking efficiency, posing a safety risk.
- Malfunctioning Lights: Non-functioning lights can reduce visibility, especially in low-light conditions.
- Low or Dirty Oil: Low or dirty oil can lead to engine damage and decreased performance.
- Battery Corrosion: Corrosion on the battery can lead to power issues and potential breakdowns.
- Body Damage: Damage to the body of the ATV can affect its structural integrity and safety.
Here are the detailed steps to perform a thorough ATV inspection:
While performing an ATV inspection, there are several common issues you should be aware of:
Regular ATV inspections are a key part of maintaining your vehicle’s performance and ensuring your safety. By following these detailed steps and being aware of common issues, you can keep your ATV in top condition and enjoy many years of safe riding.
ATV Maintenance Tips: Expert Advice
As an ATV owner, it’s crucial to keep your vehicle in top shape. Not only does this ensure your safety while riding, but it also extends the life of your ATV. Here are some expert tips and common mistakes to avoid when maintaining your ATV.
- Top tips for maintaining your ATV
- Common mistakes to avoid
1. Regularly Check the Tires: Tires are one of the most important parts of your ATV. Check the tire pressure regularly and look for any signs of wear or damage.
2. Change the Oil: Just like a car, your ATV needs regular oil changes. This keeps the engine running smoothly and prevents damage.
3. Clean Your ATV: After each ride, make sure to clean your ATV. This helps prevent dirt and debris from damaging the vehicle.
4. Inspect the Brakes: Always check the brakes before you ride. If they’re not working properly, it can lead to serious accidents.
5. Store Your ATV Properly: When not in use, store your ATV in a dry, cool place. This helps prevent rust and other damage.
1. Ignoring Regular Maintenance: Many ATV owners make the mistake of ignoring regular maintenance. This can lead to serious problems down the line.
2. Using the Wrong Oil: Always use the oil recommended by the manufacturer. Using the wrong oil can damage the engine.
3. Overloading the ATV: ATVs are designed to carry a certain amount of weight. Overloading your ATV can cause damage and can be dangerous.
4. Ignoring Warning Signs: If your ATV is making strange noises or isn’t running properly, don’t ignore it. These could be signs of a serious problem.
By following these expert tips and avoiding common mistakes, you can keep your ATV running smoothly for years to come. Remember, regular maintenance is key to the longevity and performance of your ATV.
Basic ATV Maintenance: Case Studies
Understanding the importance of ATV maintenance can be better illustrated through real-life case studies. These examples highlight the impact of regular maintenance on the lifespan of an ATV and the cost implications of neglecting maintenance. Let’s delve into these case studies.
-
Case Study: The Impact of Regular Maintenance on ATV Lifespan
Consider the case of John, an ATV enthusiast who bought his first ATV at the age of 15. John was meticulous about his ATV’s maintenance, ensuring that he followed the manufacturer’s recommended maintenance schedule. He regularly inspected the tires, changed the oil, and checked the brakes. As a result, his ATV lasted for over 20 years, a lifespan significantly longer than the average 10-15 years.
This case study shows that regular maintenance can extend the lifespan of an ATV, providing more value for your investment. It also underscores the importance of adhering to the manufacturer’s recommended maintenance schedule.
-
Case Study: The Cost of Neglecting ATV Maintenance
On the other hand, let’s look at the case of Sarah, another ATV enthusiast. Unlike John, Sarah did not prioritize regular maintenance. She only took her ATV for servicing when she noticed a problem. Over time, her ATV started developing more severe issues, leading to costly repairs. In just five years, the cost of these repairs exceeded the original price of the ATV.
This case study demonstrates the financial implications of neglecting ATV maintenance. Regular maintenance can help identify potential issues early, preventing costly repairs in the future.
In conclusion, these case studies highlight the importance of regular ATV maintenance. Not only can it extend the lifespan of your ATV, but it can also save you from costly repairs in the long run. Therefore, it’s crucial to make ATV maintenance a priority.
DIY ATV Maintenance: A Practical Approach
Performing your own ATV maintenance can be a rewarding and practical approach to keeping your vehicle in top shape. Not only can it save you money, but it can also give you a greater understanding of your ATV’s workings. In this section, we will explore the benefits of DIY ATV maintenance and how to set up a maintenance schedule.
- Benefits of DIY ATV Maintenance
- Cost Savings: By doing your own maintenance, you can save on labor costs. This can add up to significant savings over time.
- Knowledge Gain: When you perform your own maintenance, you get to know your ATV better. This can help you identify potential issues before they become serious problems.
- Satisfaction: There’s a sense of accomplishment that comes with doing your own maintenance. It can be a rewarding experience to know you’ve taken care of your ATV yourself.
- How to Set Up a Maintenance Schedule
- Consult Your Manual: Your ATV’s owner’s manual will provide a recommended maintenance schedule. This is a good starting point.
- Consider Your Usage: If you use your ATV more frequently or in harsher conditions, you may need to perform maintenance tasks more often.
- Keep Records: Keep a log of all maintenance tasks you perform. This can help you track when certain tasks are due and can be useful for future reference.
There are numerous benefits to maintaining your ATV yourself. Here are a few:
Setting up a maintenance schedule for your ATV is a straightforward process. Here’s a simple guide:
In conclusion, DIY ATV maintenance is a practical and beneficial approach to keeping your vehicle in top shape. By understanding the benefits and setting up a maintenance schedule, you can ensure your ATV remains reliable and performs at its best.
ATV Maintenance and Inspection Tutorial: Key Takeaways
As we conclude our comprehensive guide on ATV maintenance and inspection, let’s recap the most crucial points and outline the next steps for beginners. This summary will serve as a quick reference guide for you to keep your ATV in top shape.
- Recap of the most important points:
- Next steps for beginners:
Understanding the basics of ATV maintenance is essential for every owner. Regular inspections and routine tasks, such as checking tire pressure, oil changes, and cleaning air filters, can significantly prolong the lifespan of your ATV. Remember, safety is paramount. Always ensure your brakes, lights, and other safety features are in perfect working condition.
Now that you have a basic understanding of ATV maintenance, it’s time to put theory into practice. Start with simple tasks like checking tire pressure and oil levels. Gradually, as you gain confidence, move on to more complex tasks like brake inspections and air filter cleaning. Remember, practice makes perfect. The more you work on your ATV, the more proficient you’ll become.
ATV maintenance and inspection may seem daunting at first, but with patience and practice, it becomes second nature. Keep this guide handy for reference as you embark on your journey to becoming an ATV maintenance pro. Happy riding!
| Task | Frequency |
|---|---|
| Check tire pressure | Before each ride |
| Change oil | Every 100 hours of use |
| Clean air filter | Every 50 hours of use |
| Inspect brakes | Every 25 hours of use |
Remember, these are just general guidelines. Always refer to your ATV’s owner’s manual for specific maintenance instructions.